User Management
JetShip offers a simple yet powerful user and role management system, allowing you to efficiently control access for team members and users within your application.
User management features are only accessible to Admin or users with permissions to view, update, create, or delete users, roles, and permissions.
👥 Users
To manage users, navigate to the Users table by clicking the sidebar Users menu or by directly visiting the /admin/users route.
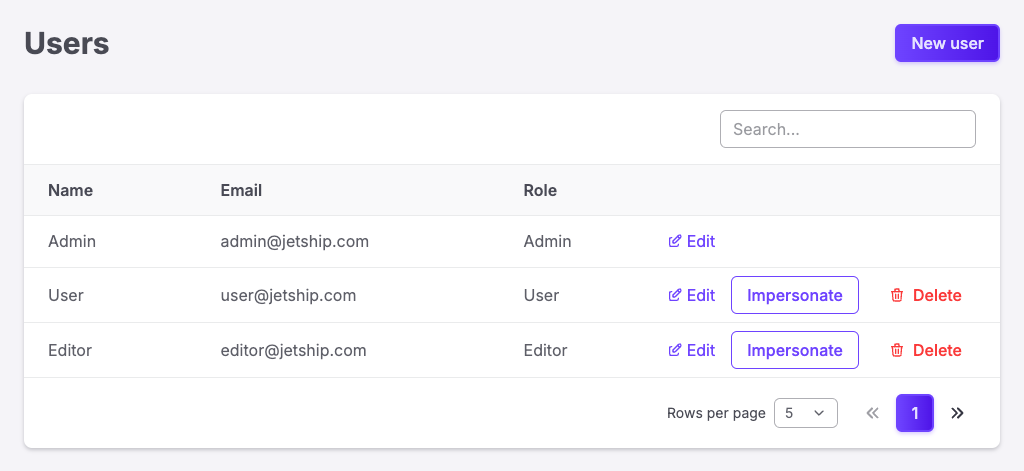
Each user has their own dashboard where they can view their subscriptions, billing information, edit their profile, and more. This dashboard is accessible at the /dashboard route.
Admin users have additional privileges and can access the Admin Dashboard at the /admin route, where they can manage the application based on their assigned roles.
🧩 Creating a User
To create a new user, simply click the New User button located at the top right corner of the page.

You will be presented with a form to fill in the new user’s details:
- Name: The user’s full name.
- Email: The user’s email address, which will be used for login.
- Password: The password for the user’s login credentials.
- Roles: The roles assigned to the user. A user can have multiple roles, and these roles define the actions they can perform within the application.
📝 Editing a User
To edit an existing user, click the Edit button next to the user’s row. You will be presented with the same form that you used to create the user, where you can update their information.
🎭 Roles
To manage roles, navigate to the Roles table by clicking the sidebar Roles menu or by visiting the /admin/roles route.
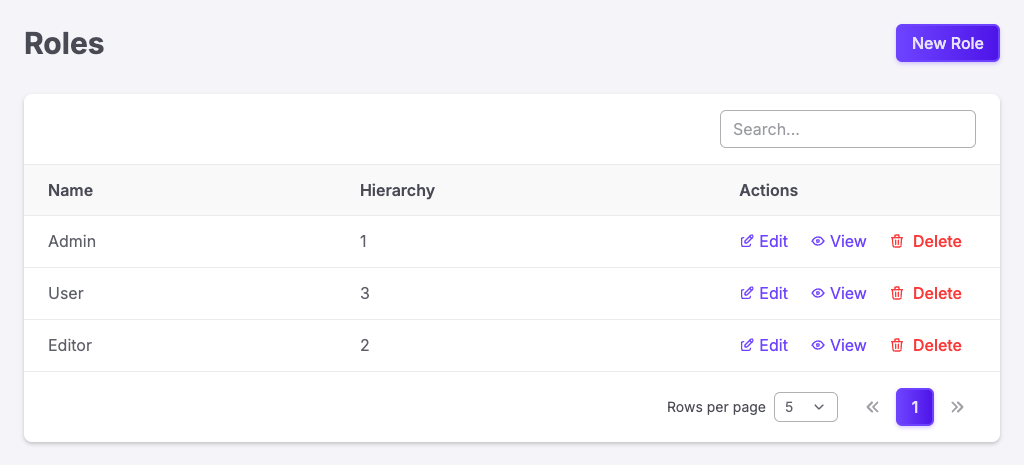
A role defines a set of permissions and a hierarchical level, determining the user’s access level. A user can have multiple roles. The hierarchy helps establish the authority of the role, where lower numerical values signify higher authority.
🧩 Creating a Role
To create a new role, click the New Role button at the top right corner of the page.
You’ll be presented with a form to fill in the role details:
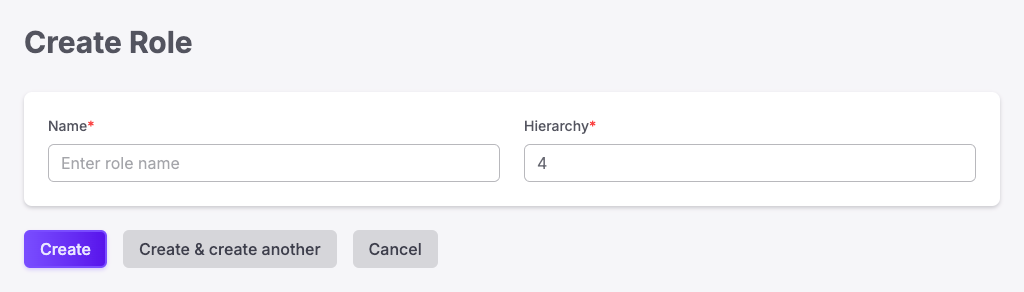
Here’s what you’ll need to provide:
- Name: The name of the role.
- Hierarchy: The hierarchy of the role (lower values have higher authority).
Once the role is created, you can assign permissions to it.
📝 Editing a Role
To edit a role, simply click the Edit button on the right side of the role’s row. This will bring up the same form you used to create the role, allowing you to modify the role's details.
🔐 Permissions
Permissions are straightforward and self-explanatory. Each part of the application typically has create, view, update, and delete permissions.
To manage permissions, navigate to the Permissions table by clicking the sidebar Permissions menu or by visiting the /admin/permissions route.
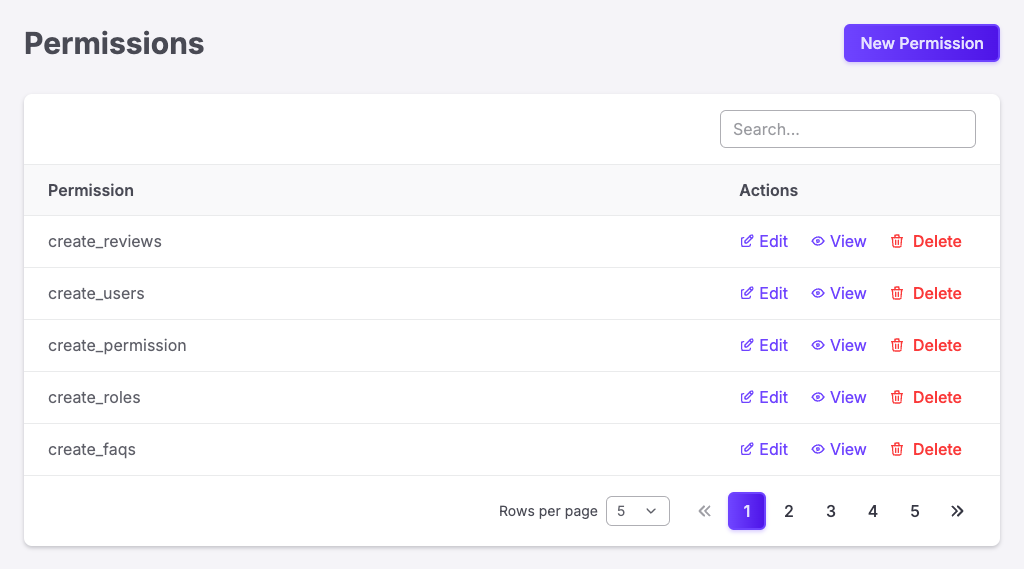
🧩 Creating a Permission
To create a new permission, click the New Permission button at the top right corner of the page.
You’ll then see a form to fill in the permission details:
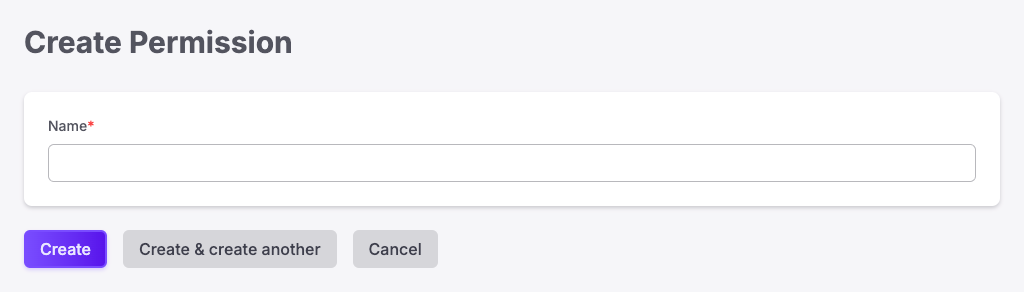
Here’s what you’ll need to provide:
- Name: The name of the permission.
Once the permission is created, you can assign it to roles.
📝 Editing a Permission
To edit a permission, click the Edit button next to the permission row. This will allow you to modify the permission details.
🕵️♂️ User Impersonation
JetShip includes a built-in user impersonation feature, which allows you to authenticate as another user. This is especially helpful for troubleshooting user issues or providing support.
To impersonate a user, go to the Users menu in the admin panel and click the Impersonate button on the right side of the user’s row.
While impersonating a user, you’ll see a banner at the top of the page indicating you are in Impersonation Mode. You can stop impersonating the user at any time by clicking the Exit Impersonation button in the banner.

When impersonating, you’ll have access to all the user’s data and permissions, allowing you to perform actions exactly as they would.