Appearance
OAuth Social Login 🔒
JetShip provides seamless support for OAuth social login, allowing users to sign in or register using their social media accounts like Facebook, Google, Twitter (X), and more. This integration makes it easier for users to access your platform without creating a separate account, which improves user experience and engagement. 🙌
Supported OAuth Providers
JetShip comes with built-in support for the following OAuth providers:
- Twitter (X)
- GitHub
Want to Add Another OAuth Provider? 🤔
If you wish to integrate additional social login providers, you can refer to the official Laravel Socialite documentation for guidance.
Enabling OAuth Providers ⚙️
To enable or disable OAuth providers, follow these steps:
Navigate to
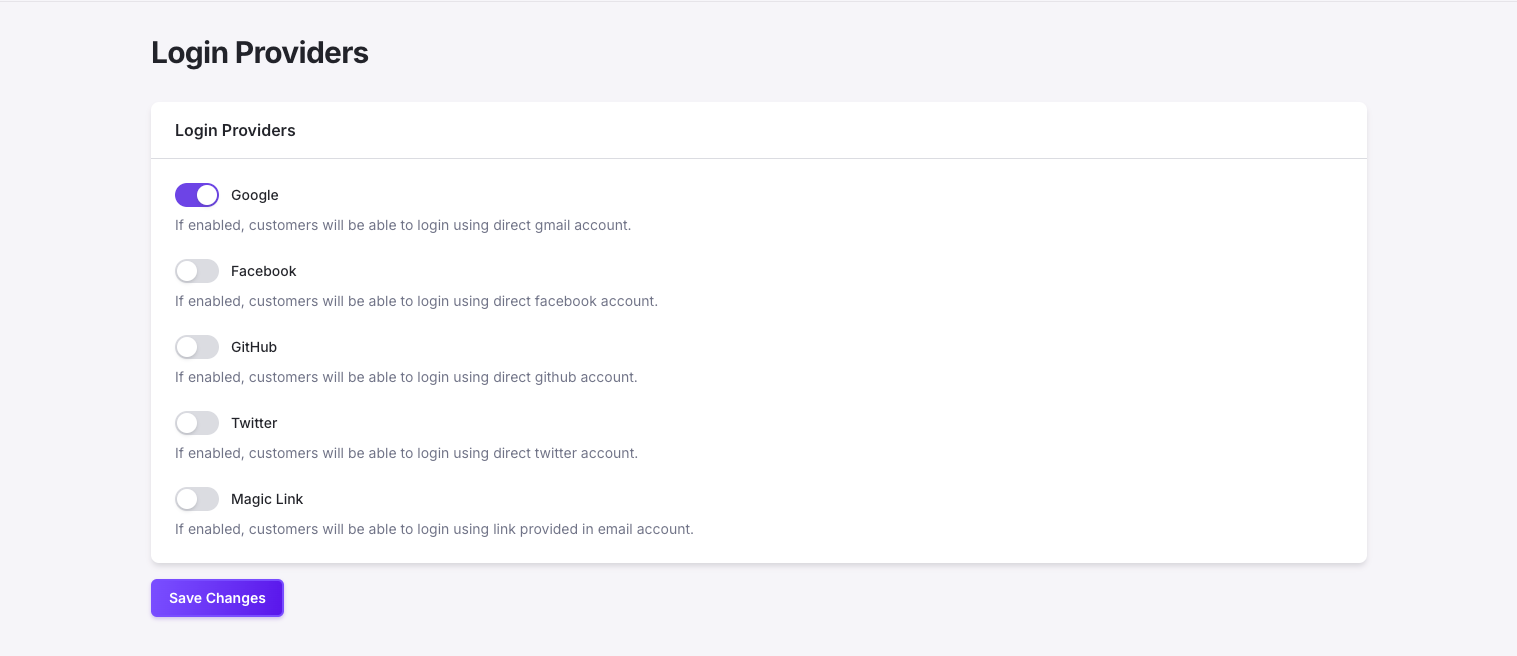
Settings -> Login Providers.You will see a screen that lists all available login providers, as shown below.

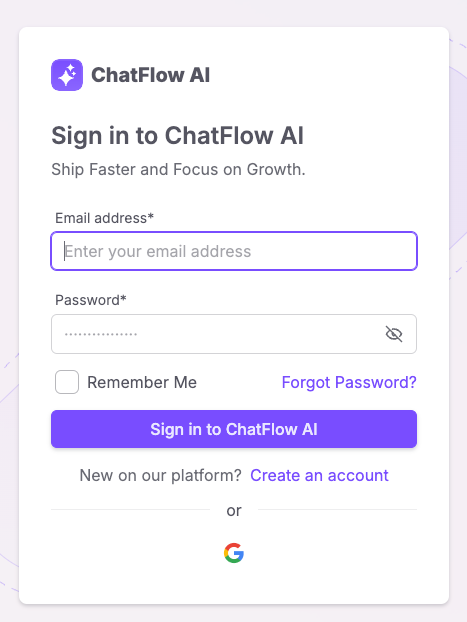
Toggle the switch for the provider(s) you wish to enable or disable. Once enabled, the provider will automatically appear on your login and registration pages. 👌

Configuring OAuth Providers 🔧
To use OAuth providers, you need to create a Client ID and a Client Secret for each provider and configure them in your project. Here's how to set them up for the most popular platforms.
Step-by-Step Setup for OAuth Providers
1. Google OAuth
To configure Google OAuth:
Follow this guide to create your Google Client ID and Client Secret.
When asked for the redirect URL, use:
bashhttp://127.0.0.1:8000/auth/google/callbackAfter creating the Client ID and Secret, add them to your
.envfile:
bash
GOOGLE_CLIENT_ID=your-client-id
GOOGLE_CLIENT_SECRET=your-client-secret
GOOGLE_REDIRECT_URL=http://127.0.0.1:8000/auth/google/callback
2. Facebook OAuth
To configure Facebook OAuth:
Follow this guide to create your Facebook Client ID and Client Secret.
Use the following redirect URL:
bashhttp://127.0.0.1:8000/auth/facebook/callbackAfter generating the credentials, add them to your
.envfile:
bash
FACEBOOK_CLIENT_ID=your-client-id
FACEBOOK_CLIENT_SECRET=your-client-secret
FACEBOOK_REDIRECT_URL=http://127.0.0.1:8000/auth/facebook/callback
3. Twitter (X) OAuth
To configure Twitter OAuth:
Follow this guide to create your Twitter Client ID and Client Secret.
Use the following redirect URL:
bashhttp://127.0.0.1:8000/auth/twitter/callbackOnce you have your credentials, add them to your
.envfile:
bash
TWITTER_CLIENT_ID=your-client-id
TWITTER_CLIENT_SECRET=your-client-secret
TWITTER_REDIRECT_URL=http://127.0.0.1:8000/auth/twitter/callback
4. GitHub OAuth
To configure GitHub OAuth:
Follow this guide to create your GitHub Client ID and Client Secret.
Use the following redirect URL:
bashhttp://127.0.0.1:8000/auth/github/callbackAdd your credentials to the
.envfile:
bash
GITHUB_CLIENT_ID=your-client-id
GITHUB_CLIENT_SECRET=your-client-secret
GITHUB_REDIRECT_URL=http://127.0.0.1:8000/auth/github/callback
With OAuth login enabled, your users will enjoy a smoother and faster authentication process, while you maintain a secure and scalable system! 🎉