Manage Blog Posts
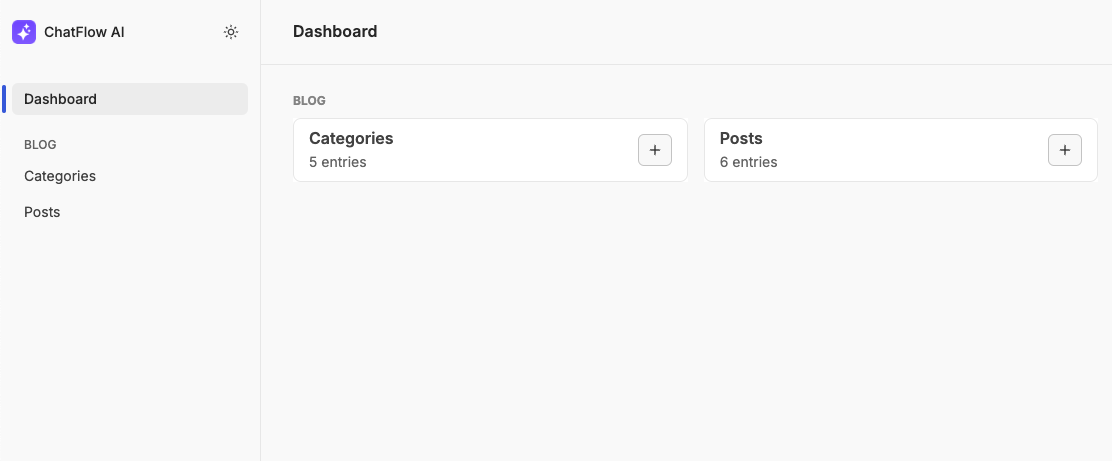
The blog management interface is accessible at /keystatic, providing a user-friendly dashboard to manage your blog content. Here you can create, edit, and organize your blog posts and categories through an intuitive admin interface.

📂 Creating a Post Category
Categories help organize your blog content and make it easier for readers to find posts on specific topics. Well-organized categories improve navigation and enhance the overall user experience of your blog.
To create a new category for your blog posts, follow these steps:
- Navigate to the Categories tab in the Keystatic admin interface. You'll find this in the left sidebar menu.
- Click on the Add button located in the top right corner of the page. This will open the "Add Category" form as shown below:
- Fill in these essential fields to define your category:
- Name (required): Enter a descriptive name for the category (e.g., "Technology", "Lifestyle"). Choose something clear and memorable that reflects the content it will contain.
- Slug (required): This is the URL-friendly version of your category name. It should be lowercase and use hyphens instead of spaces (e.g., "technology", "lifestyle"). The slug will appear in your blog's URLs.
- Is Featured: Toggle this option to make the category more prominent. Featured categories are typically displayed in prominent locations like the blog homepage or sidebar navigation.
Best Practice
Keep category names concise but descriptive. Avoid creating too many categories - it's better to have a few well-organized categories than many sparsely-used ones.
- After filling in the fields, click the Create button in the top right corner to save your category. This will:
- Generate a new
yamlfile in theapps/web/src/cms-content/categoriesdirectory - Make the category immediately available for use when creating blog posts
- Add it to your blog's navigation structure
Storage Location
Categories are stored as YAML files in
apps/web/src/cms-content/categoriesand can only be edited or deleted through the Keystatic admin interface. Storage path can be configured inkeystaticConfig.tsx.
- Generate a new
✍️ Creating a New Post
Creating engaging blog posts is at the heart of your content strategy. The Keystatic interface provides a user-friendly environment for writing and managing your blog content with all the necessary tools at your disposal.
To create a new blog post, follow these steps:
- Navigate to the Posts tab in the Keystatic admin interface. You'll find this option in the left sidebar menu.
- Click on the Add button in the top right corner. This will open the post creation form:
- Fill in the following fields to create your post:
- Title (required): Create an engaging title for your post (e.g., "The Future of AI"). This will be displayed as the main heading.
- Slug (required): The URL-friendly version of your title (e.g., "future-of-ai"). This will form part of your post's URL.
- Description (required): Write a compelling summary (150-160 characters recommended) that appears in previews and search results.
- Featured Image: Upload a high-quality image (recommended: 1200x630px) to represent your post. This appears in listings and social shares.
- Categories: Assign your post to one or more categories. This helps with content organization and makes posts easier to discover.
- Content (required): Write your post using the rich text editor. You can format text (bold, italic, headings), add links and images, insert code blocks with syntax highlighting, embed media (videos, tweets), and create lists and tables.
- Is Published: Toggle this to control your post's visibility. When checked, the post will be visible on your blog. When unchecked, it's saved as a draft (private).
- Published At: Set the publication date and time. This field becomes available only after checking "Is Published".
tip
Use H2/H3 headings to structure your content, add images every 300-400 words, and keep paragraphs to 2-3 sentences for better readability.
- After completing your post, click the Create button in the top right corner to publish your post. This will:
- Generate a new
mdocfile inapps/web/src/cms-content/posts - Name the file based on your slug (e.g.,
future-of-ai.mdoc) - Make the post available on your blog (if published)
info
Posts are stored as MDX files in
apps/web/src/cms-content/postsand can only be edited or deleted through the Keystatic admin interface. Draft posts remain private. Storage path can be configured inkeystaticConfig.tsx.
- Generate a new